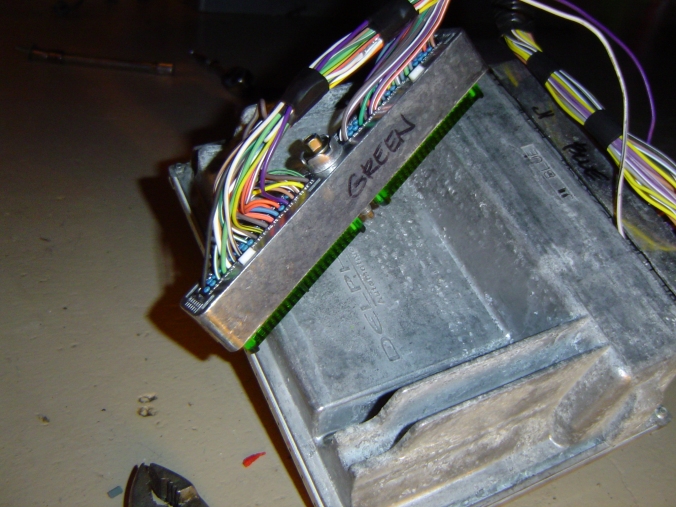
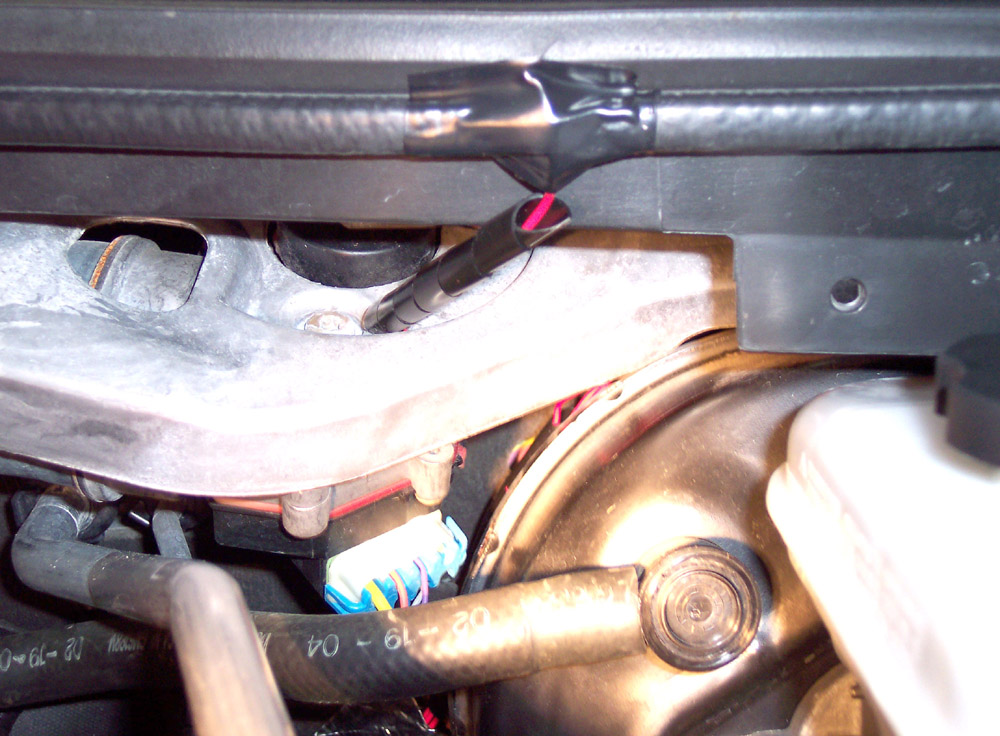
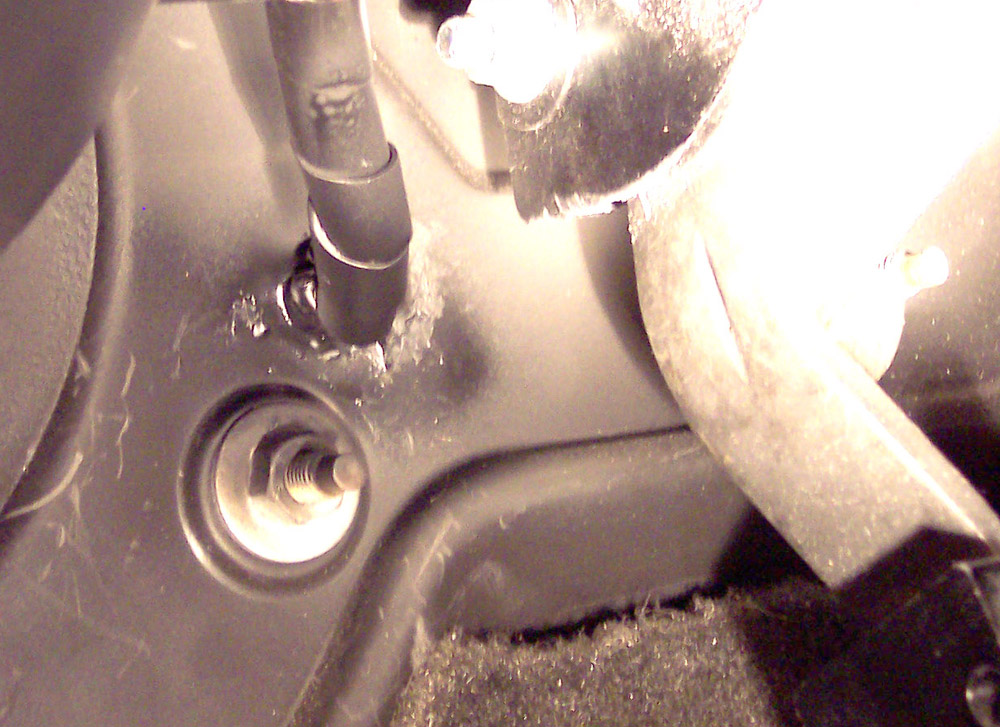
| 1. To run the wires from the PCM (for Shift light and Valet mode swtich) requires drilling a small hole in the firewall, next to the steering column. |
 |
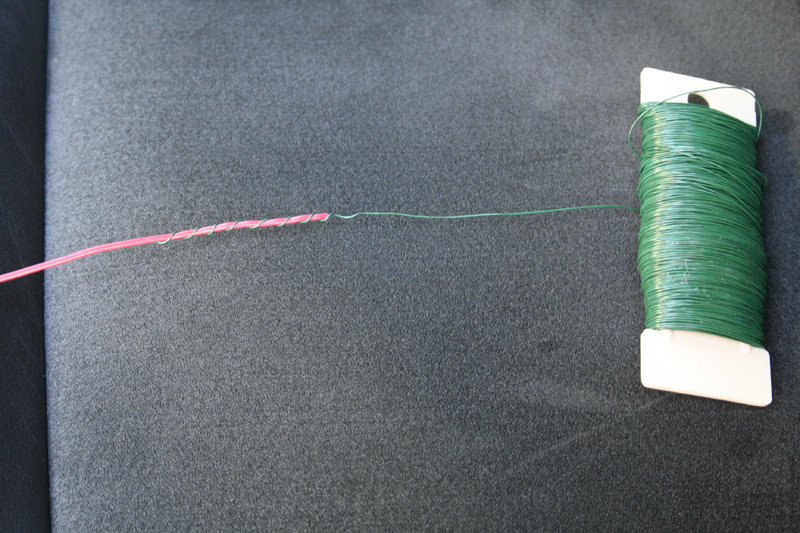
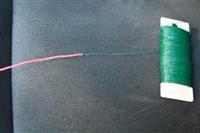
2. The metal plate is covered with a rubber boot. Threading an electrical wire through the new hole can be a frustrating experience as it tends to turn and find some route other than the intended one. I first threaded the hole using floral wire. This is the stuff florist use to make flower arrangements. It is stiff enough to poke around until you find the hole through the firewall, but flexible enough to wrap the end of the electrical wire as shown. |
NO picture YET |
| 3. With one end of the floral wire through the firewall and the other attached to the electrical wire it becomes easy to route the electrical wire to the PCM. |
|
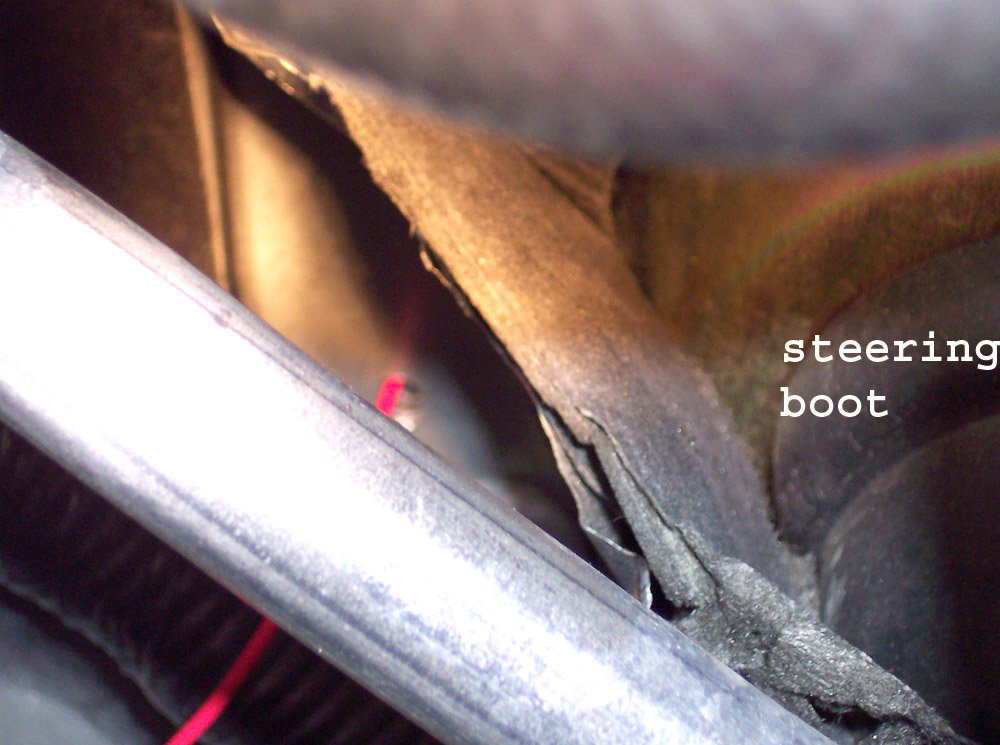
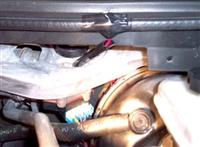
| Wire on the outside of the firewall |
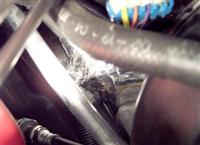
 |
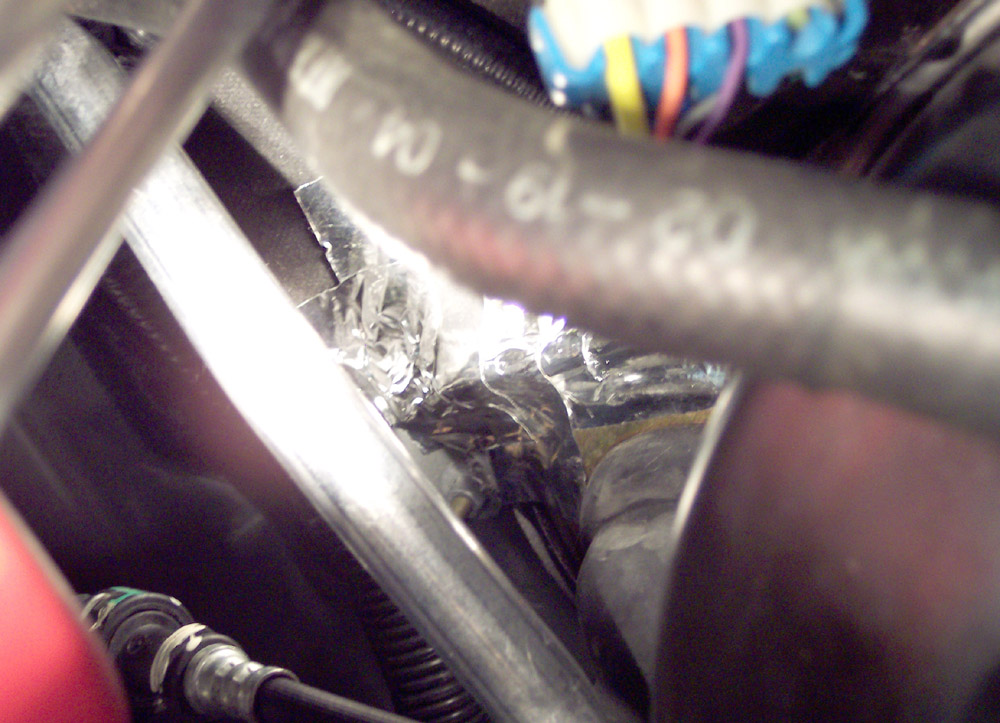
| Wire leaving the trim in the engine bay |
 |
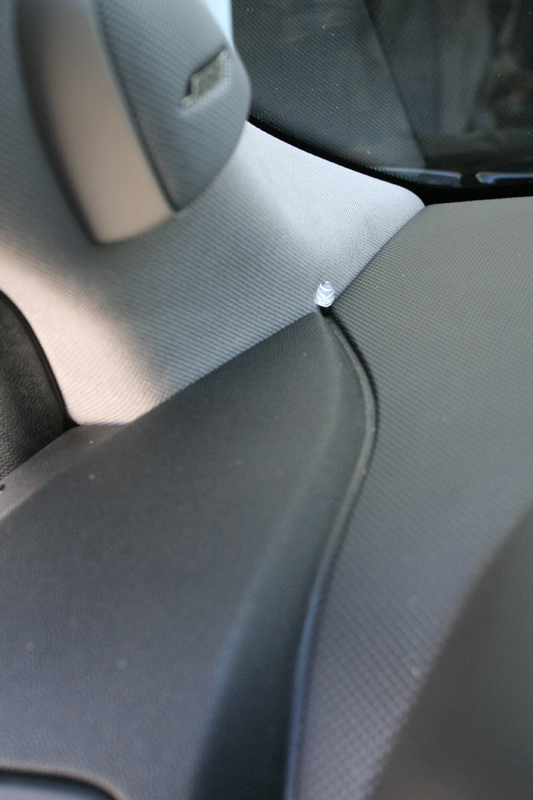
| Wire in the inside of the firewall |
 |
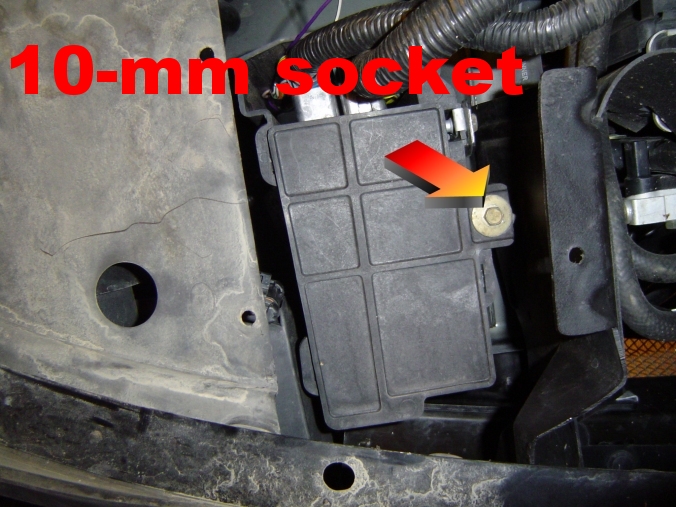
| 1. To run the wires from the PCM (for Shift light and Valet mode swtich) requires drilling a small hole in the firewall. |
 |
| 2. Raise the front driver side of the car with a jack and make sure it is secure. Remove the wheel carefully. |
 |
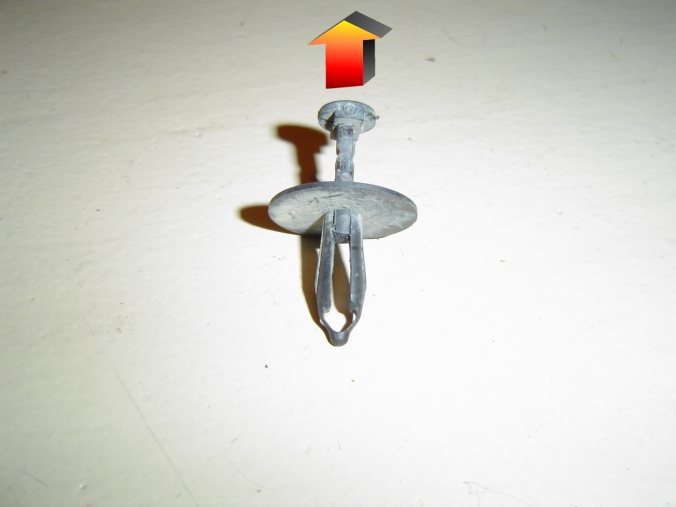
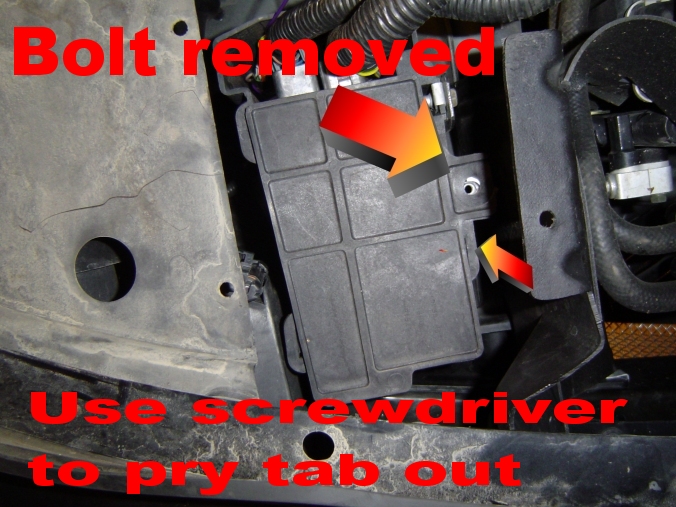
| 3. Carefully remove the tabs holding the wheel well lining on using a small flat head screwdriver. Remove the entire interior of the wheel well. |
|
| 4. On the inside of the driver door, remove the door sill (dark plastic) by sliding it forward and fpulling up CAREFULLY. |
|
| 5. You will notice a 2 inch long hold behind the panel you removed. This is where you will run the wires. |
|
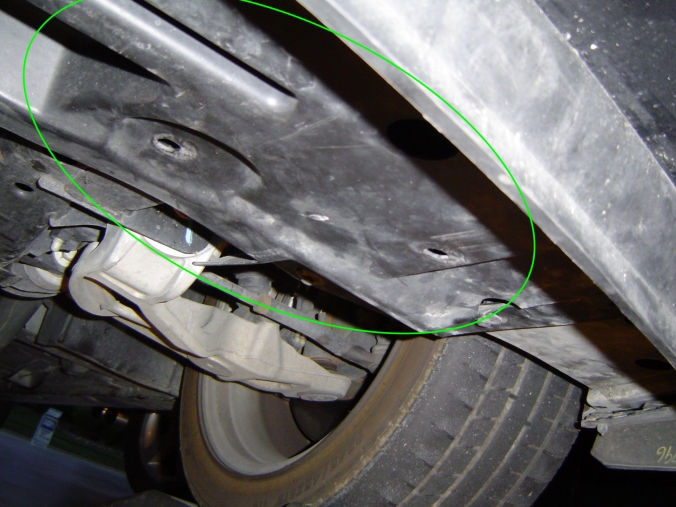
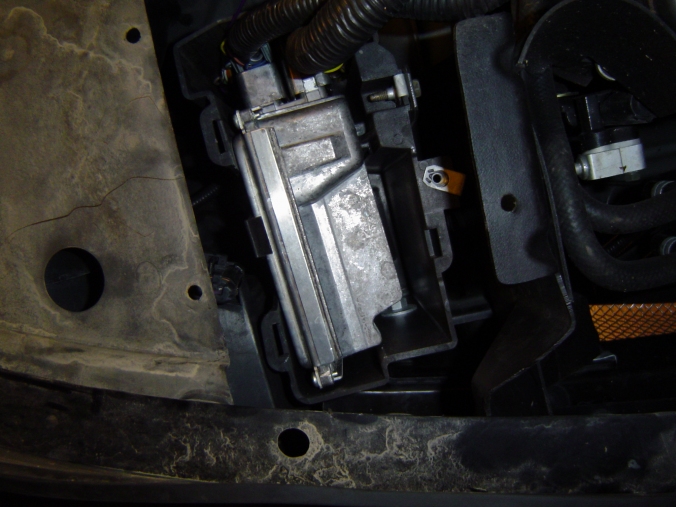
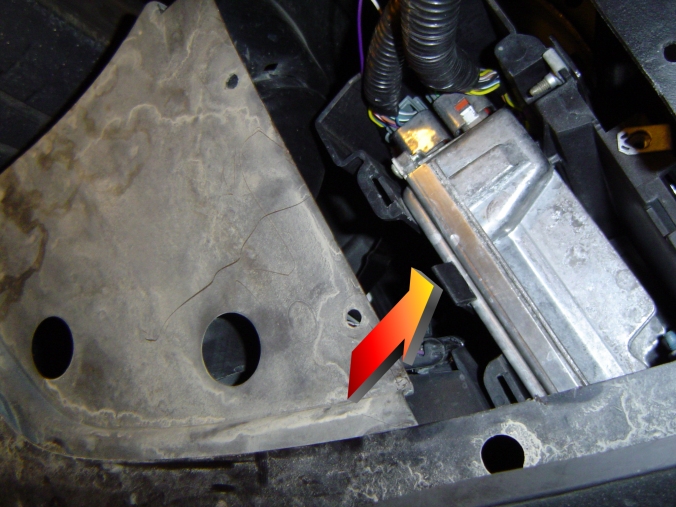
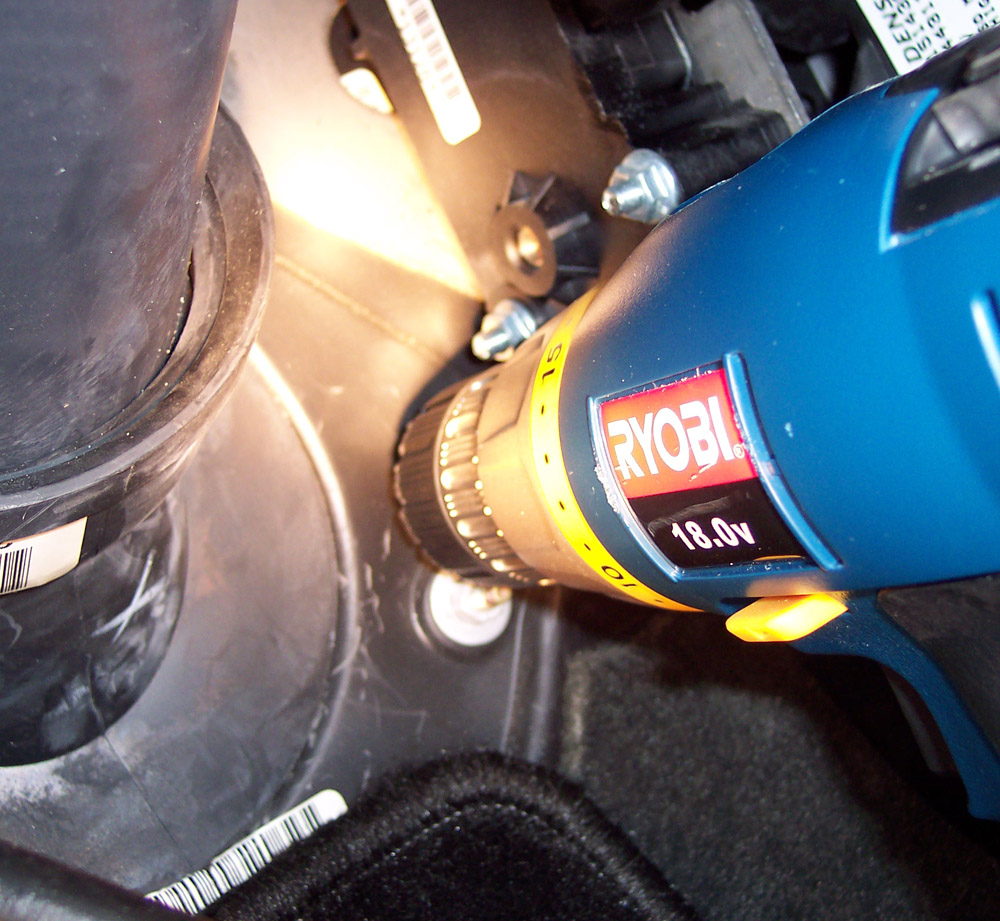
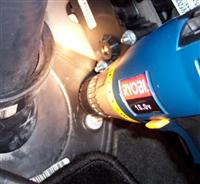
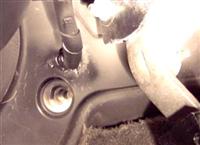
| 6. Back from the inisde of the wheel well: Using a small drill bit drill in the location shown |
|
| 7. Using a wire hanger feed the wire from the hole you just drilled to the inside of the cabin. |
|
| 8. Make sure to protect the wire going through the hole you drilled by using a gromet or tape so the wire does not wear away and short out. Use some sealant as well to keep moisture out. |
|
| 9. Run the wire from the PCM (front side of the wheel well) over the lip to where you drilled the hole. You may now reinstall the wheel well cover and lower the car. |
|
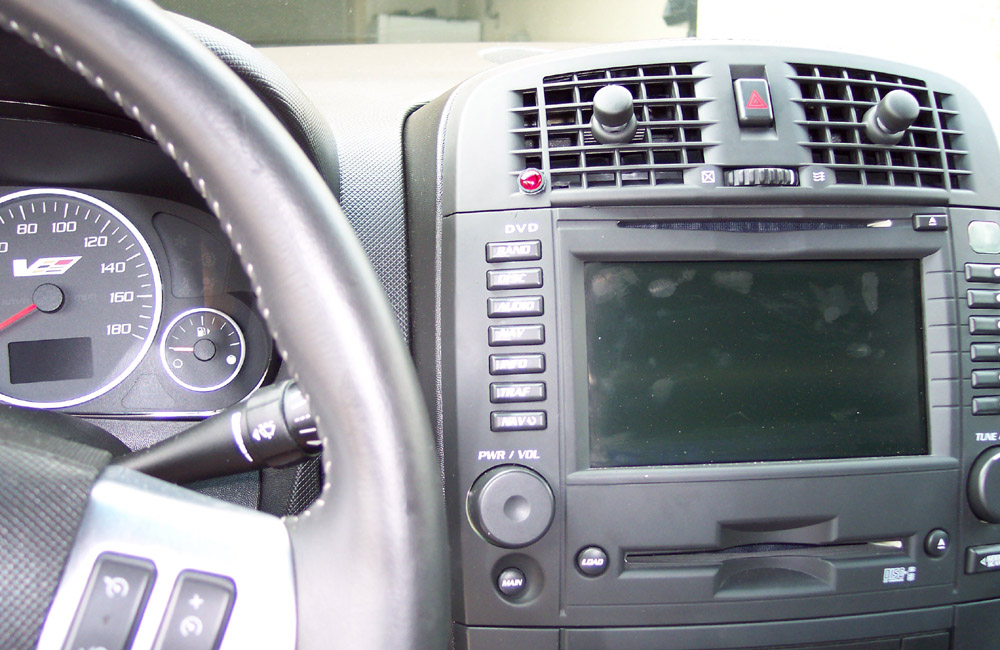
| 10. From inside the cabin, remove the plastic cover from under the driver dashboard. Route the wire(s) that you just ran into the cabin up and toward the center stack. Please note that it was behind this panel that I chose to do all the wiring because this panel is easily removed for adjustments later on. |
|