|
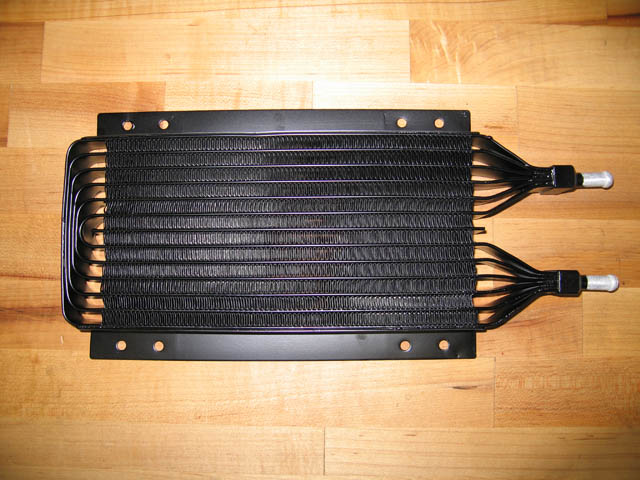
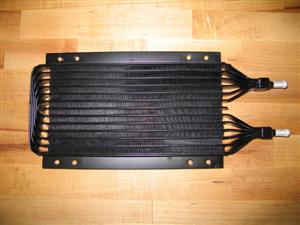
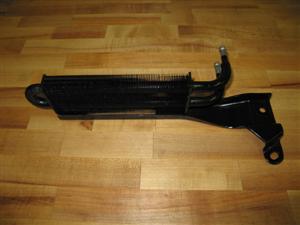
Start with the $45.00 Fluidyne cooler from Summit part # FLD-FHP-10026
|
|
|
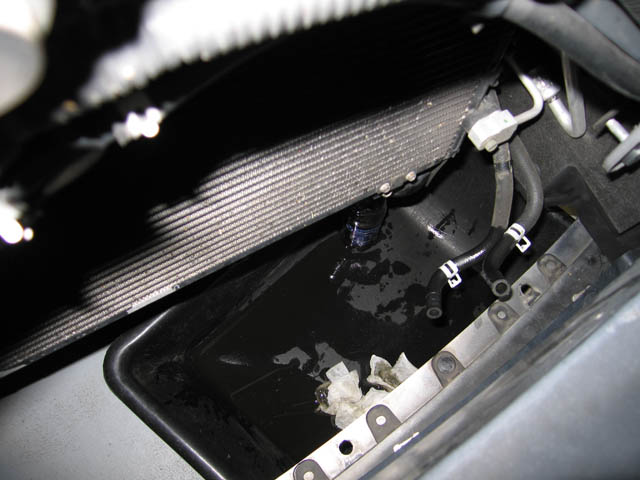
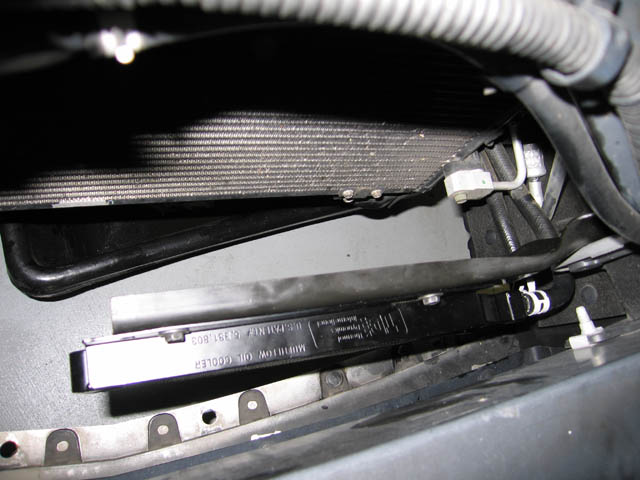
Remove the top plastic shroud covering the radiator area. Remove the 2 13mm nuts holding the OEM power steering cooler mount in place. My hands where skinny enough to go through the hood release area and do this. If you have bigger hands remove the plastic air dam on the bottom of the car first.
|
|
|
Remove the bottom plastic airdam tray with all those plastic push rivits. Let the OEM power steering cooler hang and remove the hoses to drain the power steering fluid. Have a catch pan handy.
|
|
|
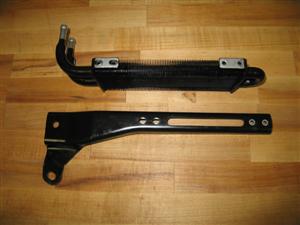
Remove OEM cooler and throw it on the workbench.
|
|
|
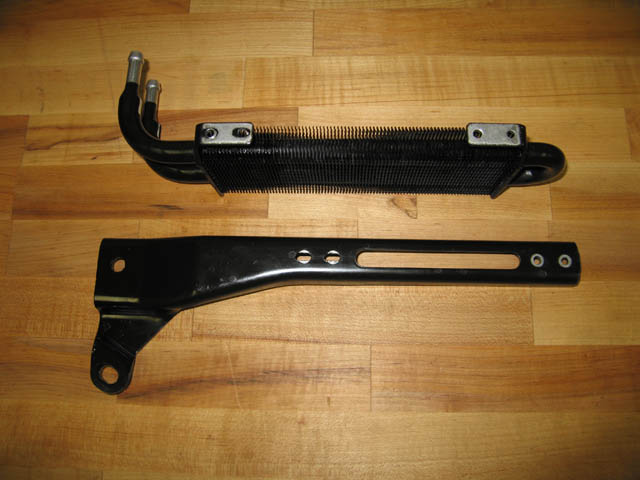
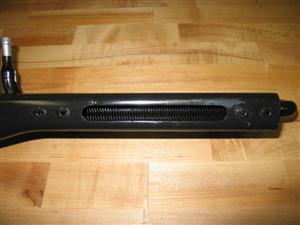
As you can see the OEM cooler is held in place onto the mount with 4 metal rivits.
|
|
|
As you can see 2 of the holes on the aftermarket cooler mount up perfectly with the OEM bracket.
|
|
|
With the cooler removed go ahead and tidy up the are under the car.
|

|
|
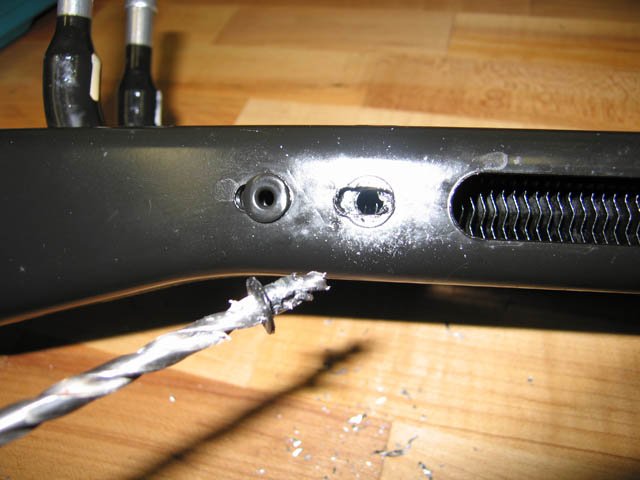
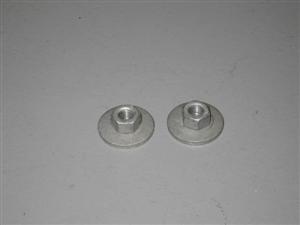
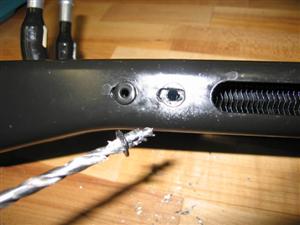
Drill out all 4 rivits using a drill bit slightly larger then the hole in the head of the rivit. Carefull not to use to much pressure. If you do the drill will go right through the rivit and into your OEM cooler, which you should save for future use someday.
|
|
|
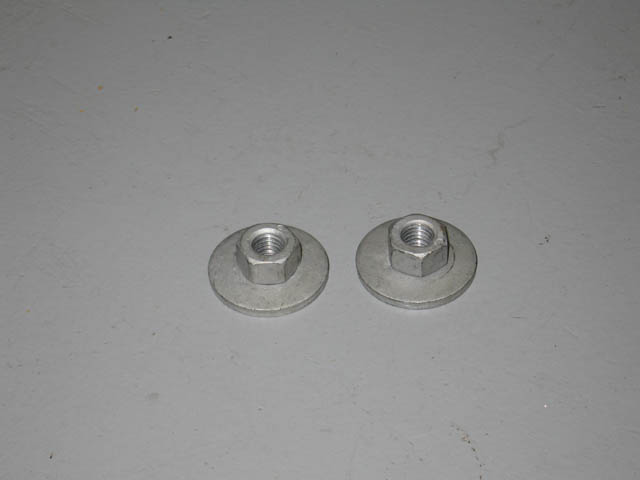
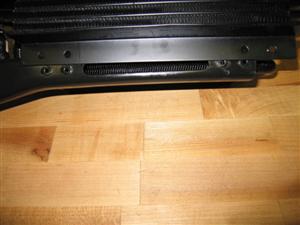
If your carefull you should have 2 parts unscathed in the removal.
|
|
|
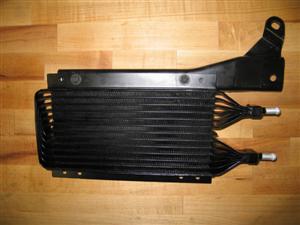
With the OEM cooler removed use some bolts and nuts to retain the aftermarket cooler in place. I used 10mm bolts with built in washers and 10mm nuts. Luckily I had some old bolts laying around that where black. This makes for a very factory looking install. Use red loctite on the bolt threads to prevent them from backing out.
|
|
|
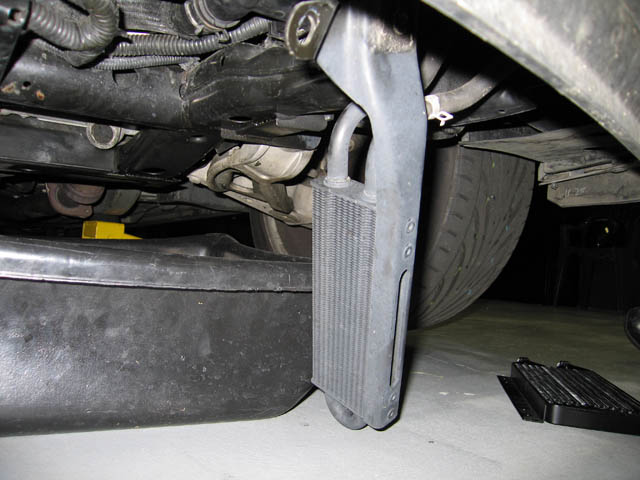
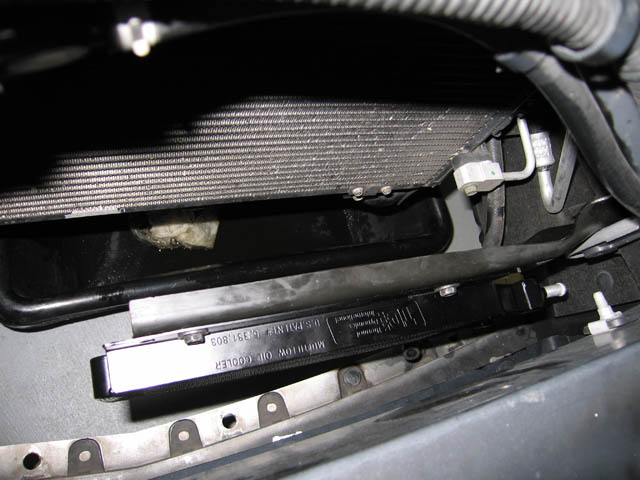
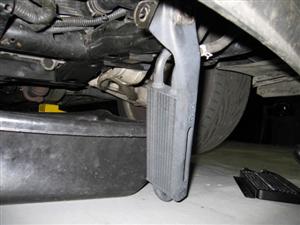
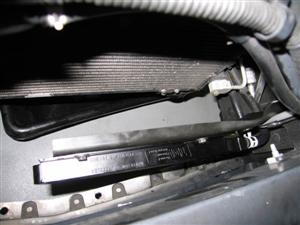
Slip the cooler up from the bottom of the car and re-install the 2 13mm nuts. You will have to hold the cooler up while you tighten the nut down to ensure the cooler stays level.
|

|
|
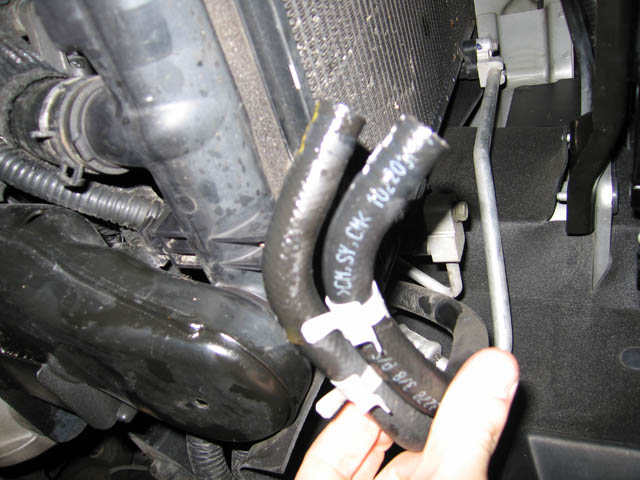
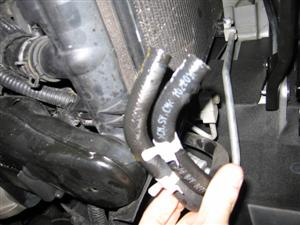
Take the OEM cooler lines and cut them where they make the final 90degree turn.
|
|
|
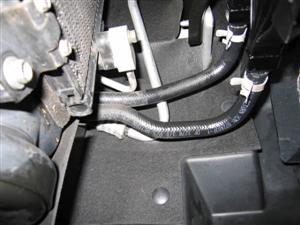
With the lines cut install the hoses using the OEM hose clamps.
|
|
|
I didn’t do this because it seems very sturdy but you could optionally install a bracket from an unused nut on the radiator to the new power steering cooler.
|
|
|
That’s it. Button the car up with the air damn and radiator shroud. Fill the power steering tank back up and start the car for a short period of time. Turn it off and check the fluid level. Refill if necessary. You should use about half a quart of power steering fluid to fill everything back up.
|
|