Procedure to add more sound deadening material under the rear seat in the V
Thanks to Urbanski
Click the images to make them larger
1. Items Required:
Torx T45
15mm socket
10mm wrench
7mm socket w/ extension, or nut driver
small screwdriver
beer
Step 1: Remove rear seat bottom by pulling the front of the cushion back and up remove carpeting
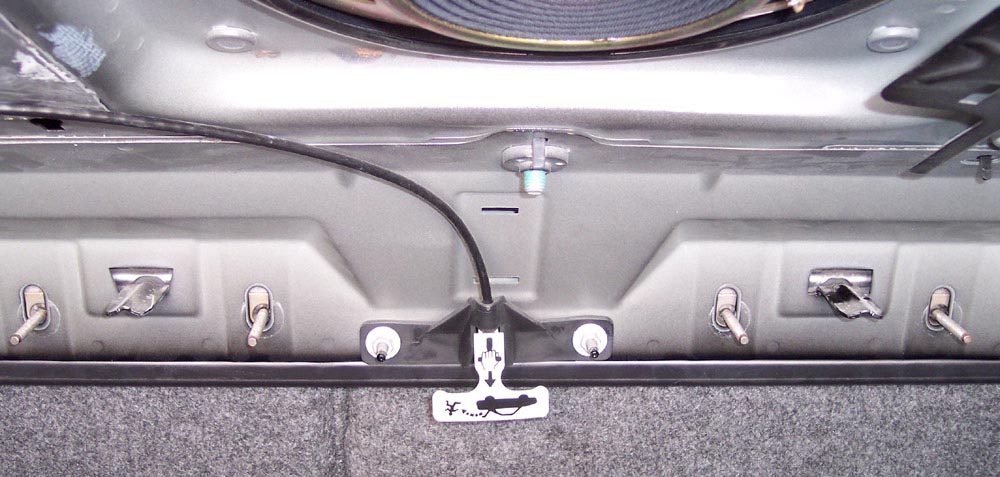
 Step 2: Crawl into the trunk and use the 10mm wrench to remove the 4 upper nuts.
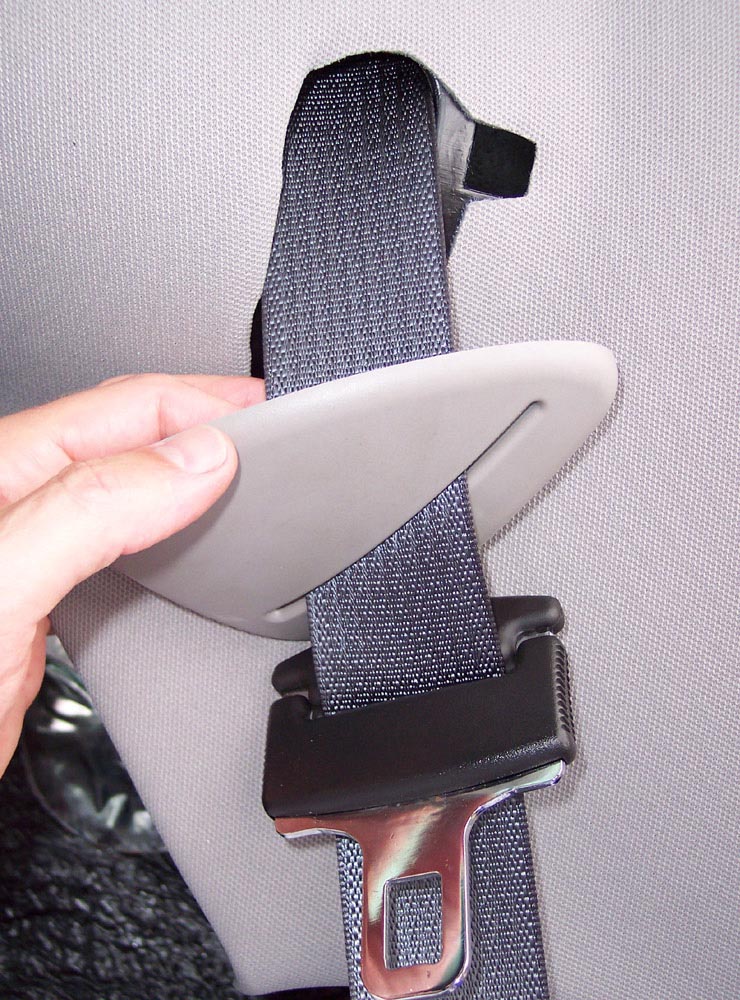
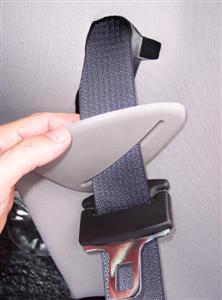
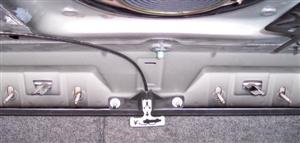 Step 3: Use the small screwdriver to pop the middle seat belt buckle free.
Step 4: Use the 15mm socket to remove the 4 bottom bolts, and remove the seat back. ***it is VERY HEAVY** may want to have help
Step 3: Use the small screwdriver to pop the middle seat belt buckle free.
Step 4: Use the 15mm socket to remove the 4 bottom bolts, and remove the seat back. ***it is VERY HEAVY** may want to have help


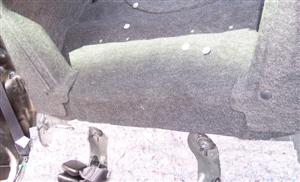
Step 5: Vacuum out the junk under there (i really like the red and green ribbons)
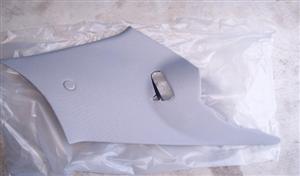
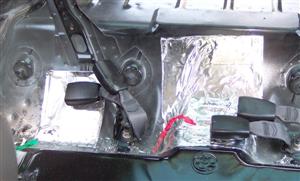 Step 6: At this point I removed my broken driver side sail panel, loosened the passenger side one, and removed the black side trim pieces. Curled up the carpet a bit, exposing the wiring back there.
Use the 45 torx to remove the rear seat belt, unclip the plastic bit from the sail and gently slide the seat belt assembly through the hole in the sail.
Step 6: At this point I removed my broken driver side sail panel, loosened the passenger side one, and removed the black side trim pieces. Curled up the carpet a bit, exposing the wiring back there.
Use the 45 torx to remove the rear seat belt, unclip the plastic bit from the sail and gently slide the seat belt assembly through the hole in the sail.
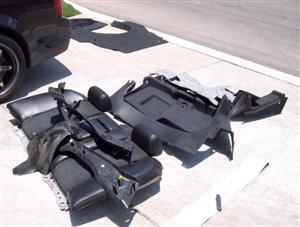
 Step 7: I further removed all the trunk trim and carpet...in anticipation of doing it soon.
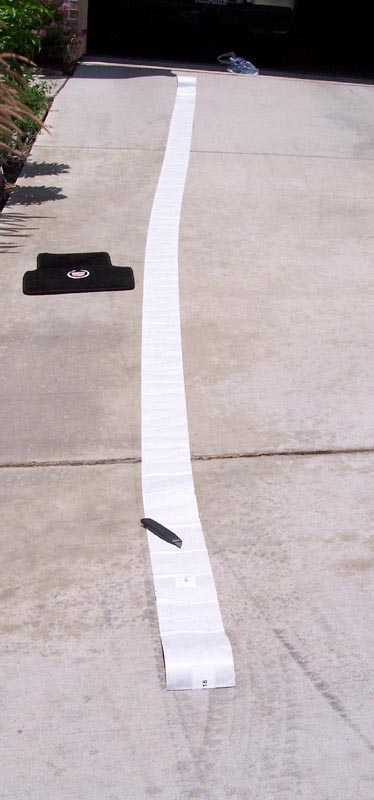
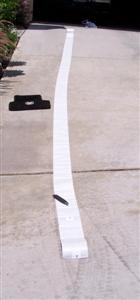
 Step 8: I bought 2 rolls of Peel and Seal from Lowes, around $12. Home Depot had nothing comparable. It's 6" x 25' of standard foil-backed asphault material.
**Prep the metal surface with soap/water, acetone, alcohol, or your degreaser of choice. I used cheap wal-mart purple degreaser. I wore deerskin gloves and used my utility knife to cut the PeelSeal. The South Texas sun heated it up nicely and it was STICKY. It WONT come off if you put it on the wrong spot.
Step 8: I bought 2 rolls of Peel and Seal from Lowes, around $12. Home Depot had nothing comparable. It's 6" x 25' of standard foil-backed asphault material.
**Prep the metal surface with soap/water, acetone, alcohol, or your degreaser of choice. I used cheap wal-mart purple degreaser. I wore deerskin gloves and used my utility knife to cut the PeelSeal. The South Texas sun heated it up nicely and it was STICKY. It WONT come off if you put it on the wrong spot.
 step 9: The keys, from what I've read are getting all the bubbles out and having no gaps. You could buy a wooden roller, but i used the butt-end of the utility knife. Worked great. Just pushing hard w/ the gloves worked great too.
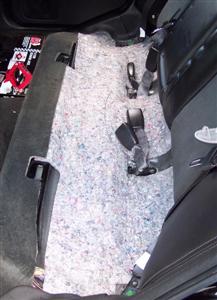
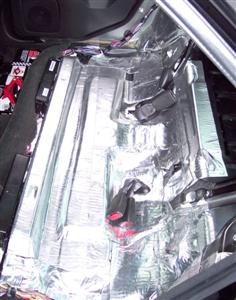 Step 10: Almost done in this pic, still some gaps. Finished....I used 2 rolls, almost 25 square feet, often double-layering.
Step 11: Then I used 2 full cans of Dap expanding-foam ~$3-4 to squirt along the wiring, into the holes the side trim pieces hook to, any other place that looked like it could use some. Sprayed the Dap also around the wiring to keep it from rattling. There is at least 1" distance from the trim to the metal, so there is alot of room for foam under there.
One "gotcha" is I covered the holes the side trim pieces went back into, had to hunt for them, lol.
Step 12: Reinstalling was breeze. Get your seat belts back on, sails on, side trim, bottom carpet, rear seat backs, and bottom cushion.
Step 10: Almost done in this pic, still some gaps. Finished....I used 2 rolls, almost 25 square feet, often double-layering.
Step 11: Then I used 2 full cans of Dap expanding-foam ~$3-4 to squirt along the wiring, into the holes the side trim pieces hook to, any other place that looked like it could use some. Sprayed the Dap also around the wiring to keep it from rattling. There is at least 1" distance from the trim to the metal, so there is alot of room for foam under there.
One "gotcha" is I covered the holes the side trim pieces went back into, had to hunt for them, lol.
Step 12: Reinstalling was breeze. Get your seat belts back on, sails on, side trim, bottom carpet, rear seat backs, and bottom cushion.
Difficulty on my scale: 3. hardest part, those damn christmas tree things holding the side trim on.
Beers: 3
Time: 4 hours, including 2 trips to Lowes (buy 2 rolls the first time)
thanks urbanski
|