|
This information is provided as guidance Only. Use this information at your own risk! This site is not affiliated with General Motors or Cadillac. All trademarks are property of their respective owners. |
 |
|
This information is provided as guidance Only. Use this information at your own risk! This site is not affiliated with General Motors or Cadillac. All trademarks are property of their respective owners. |
|
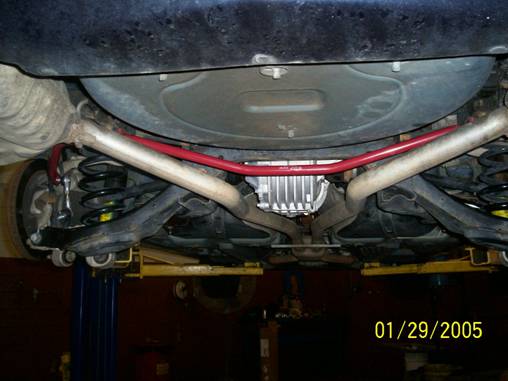
How do I Install the BMR Fabrication Arms and Tie Rods?Lift the car up on a lift. You will need to support the car by the frame rails on the front and rocker extensions on the rear. The suspension will need to be relaxed.
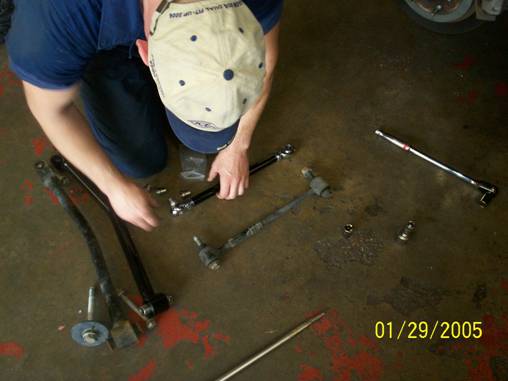
Remove the wheels. Start removing the stock trailing arm. It is held into place with 2 bolts. They are 21MM. The rear bolt will be able to be removed at this time. The front will require the cradle to be tilted. Next you will need to come down on the lift and get a hydraulic hand jack. Support the cradle with just a small amount of pre load.
Remove the front cradle bolts. They are 24MM.
Lower down the hydraulic jack so that the rear is up about a Ľ” off of the jack.
You will
need 2 people. Use a bar from the side to push the cradle down and slip the bolt
out from the top. Remove trailing arm. This is what they look like side by
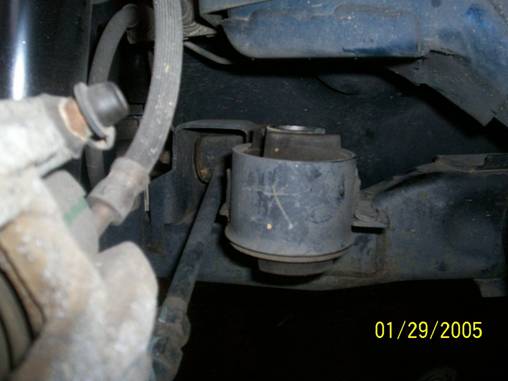
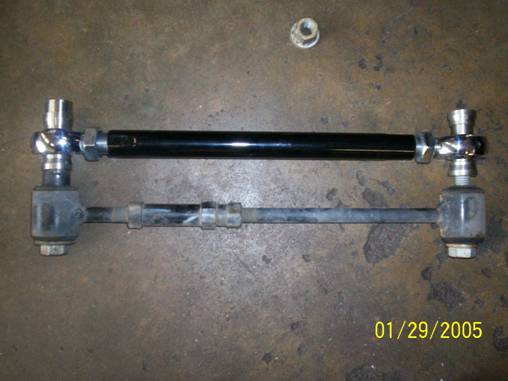
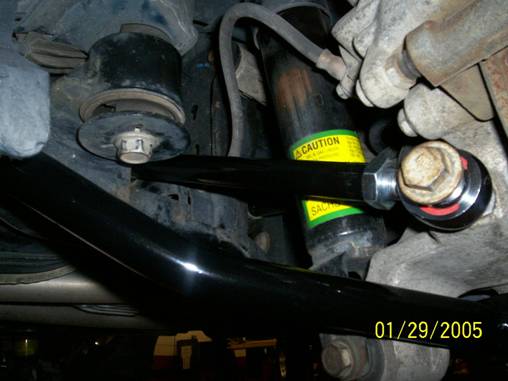
side. Using a 21MM socket, remove the tie rod bolt from the spindle. An 18MM bolt affixes the tie rod to the frame. Do this one side at a time. Remove the tie rod. Set the articulation on the tie rods. They will be loose.
Take a set
of bolts and washer spacers and make up the new tie rod to the factory tie rod.
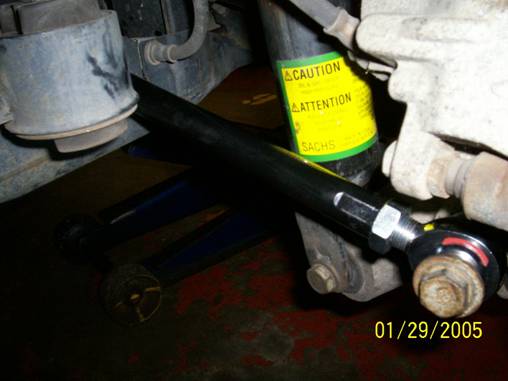
Adjust so that they are the same. Apply a dab of loctite 271 and set the jam nuts. Ensure that the ball link ends are aligned. Install the tie rod into the frame. A set of CRES 304 or 316, 0.063” THK washers may be needed to take up space. I needed 2 washers to fill the gap adequately. Tighten. Install the
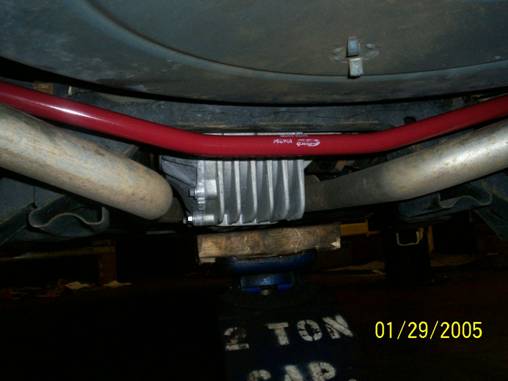
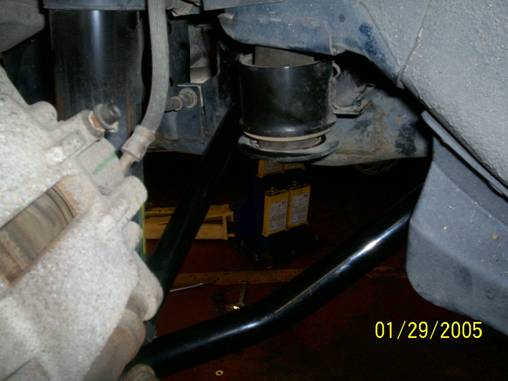
bolt into the spindle and torque to 95 FT/LBS The spindle has a machined recess that the adaptor fits into. Smooth and steady torque! Push down the forward end of the cradle to slip bolt into the front of the tailing arm. I needed 3 CRES 316 0.063” washers. 1 on top and 2 on the bottom. I used a dab of grease to hold them all in place. (I also had to hold my tongue just right and curse a lot). Slip bolts through the rear of the trailing arms. Jack the
cradle back up and install the 2 cradle bolts. Torque to 185-FT/LBS.
Install the nut on the forward training arm bolt and torque to 75-FT/LBS. Install the rear nut and torque to 120-FT/LBS.
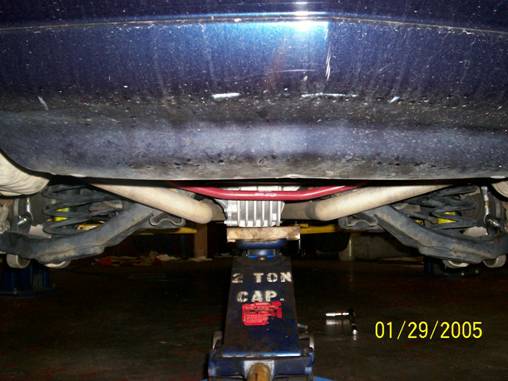
Lower and remove the floor jack. Raise the car and re-install the wheels. With the set
installed, there is a tiny bit of road noise from the tie rods. They are
tubular and seem to resonate just a tad. They give the car a unique feel in a
hard turn. Less springy/spongy. If done correctly, your alignment will be
close. However, you need to go and get the car a 4 wheel alignment. thanks ERIC for the procedure! |